
Setup a EC2 instance on AWS
We are going to create a Ubuntu instance on Amazon Web Services.
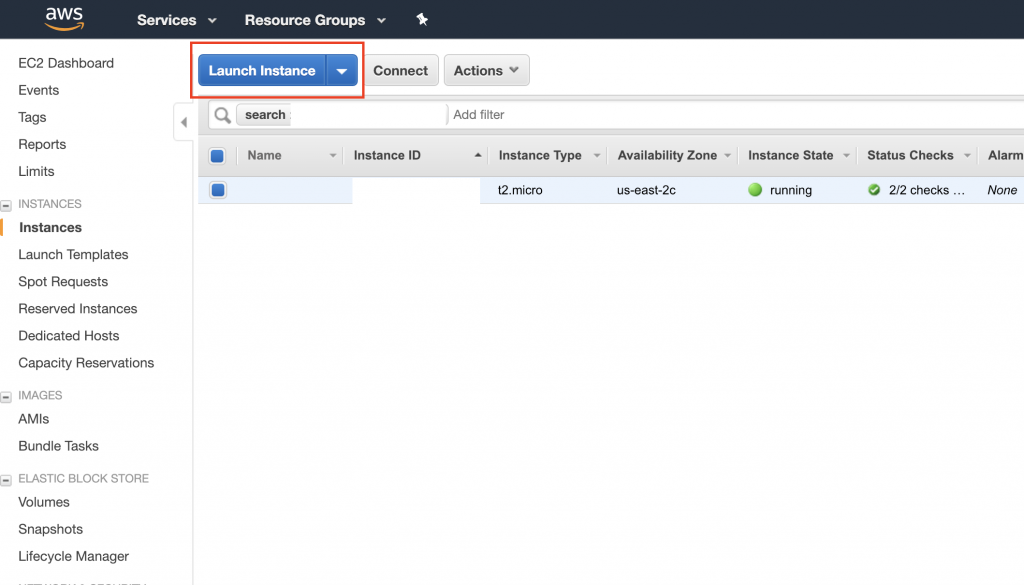
After creating an account select the “EC2” product and on the dashboard click on “Launch Instance“.
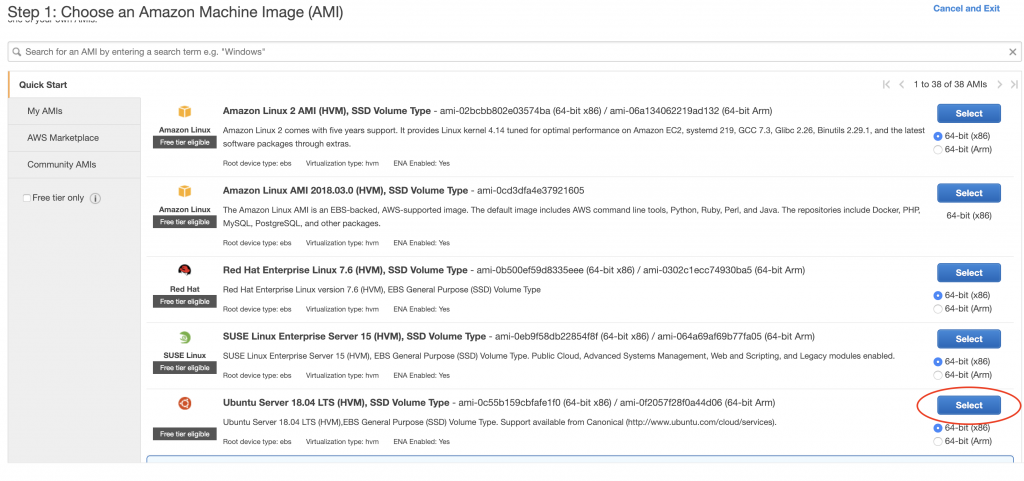
This screen will list all the operating systems. Select Ubuntu Server 18.04
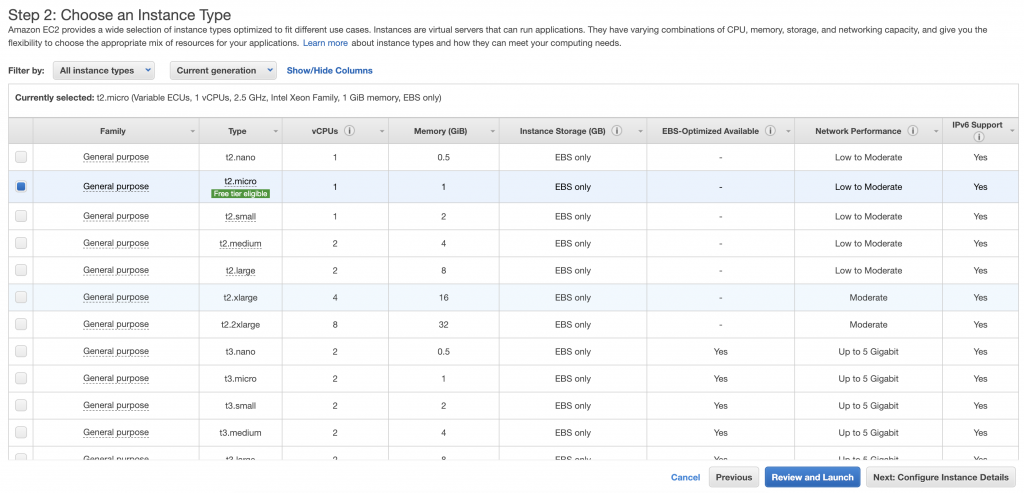
Now select your Instance Type, if you want to use the free tier, you will have to select the “t2.micro” and click “Review and Launch“
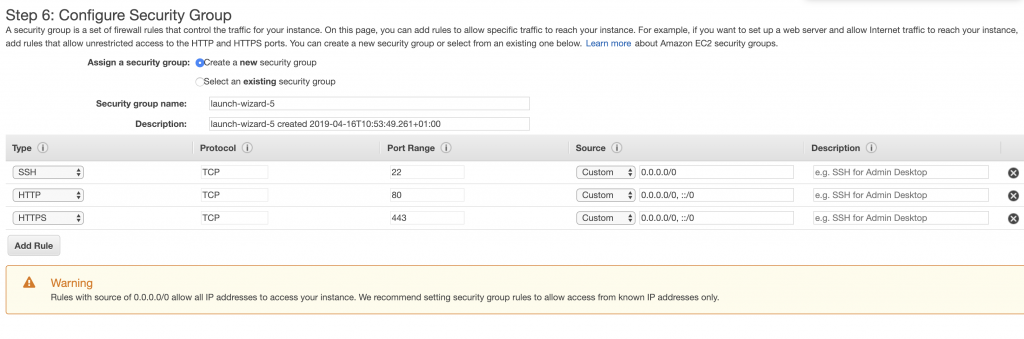
Now on the review page, click on “Edit security groups“
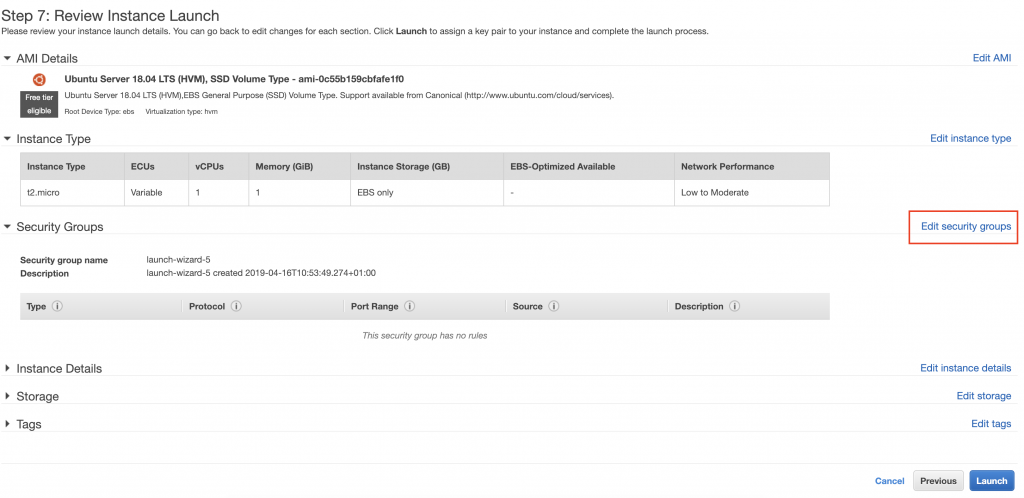
Here you can configure the security rules of your instance, on this example I enabled connections SSH, HTTP and HTTPS, on the ports 22, 80 and 443.
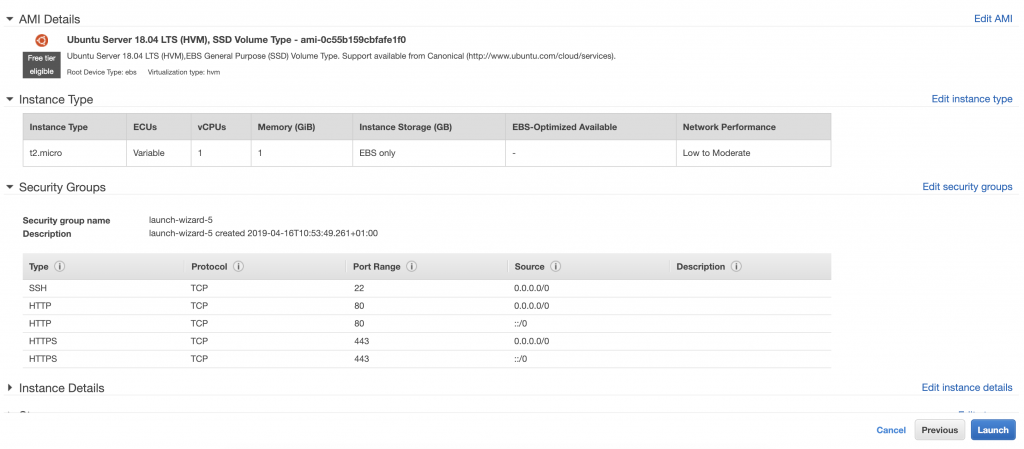
Now review that everything is correct and click “Launch”
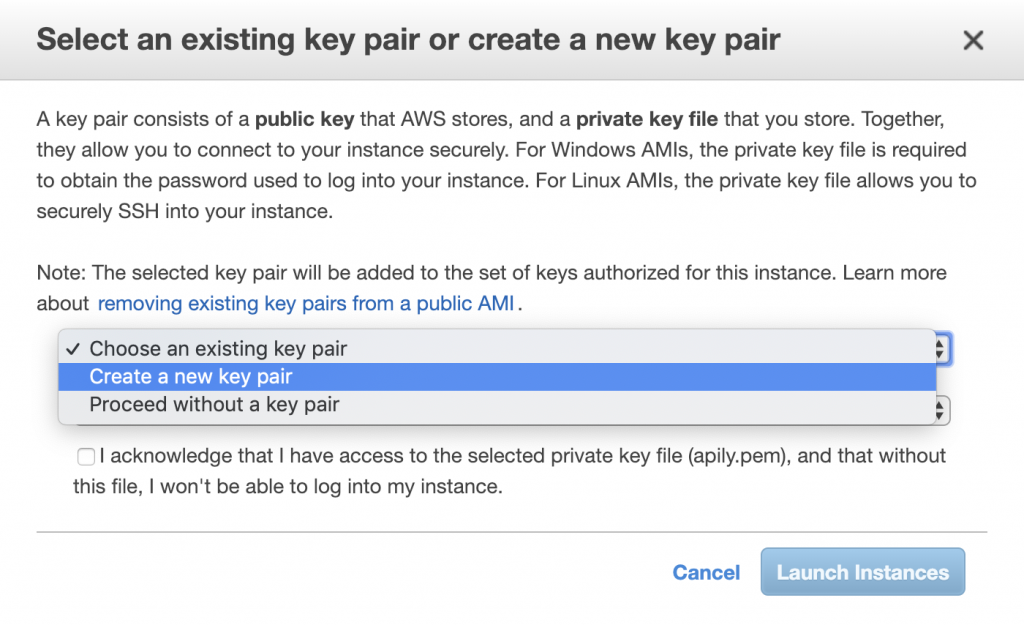
This step will ask you to create a new key or use existing one. Select “Create a new key pair“, write a name, download the key and click “Launch instances“
The process of creating the instance should take a few minutes, after that you will be able to login to the server using SSH.
You will have to give the right permissions to the .pem file.
chmod 400 your_file.pem
ssh -i your_file.pem [email protected]